
Remember a couple of weeks ago when I said that I finally figured out my printer problems? Well, now I can make all kinds of pretty labels for my soaps, salves, and lip balms.
Since it’s taken me over a year to figure out all the steps to successfully making stickers, I thought I’d take the guesswork out of it for anyone else who wants to label their stuff.
You can make your own custom labels using this handy – if not brief – tutorial that covers everything from downloading software, to making vector images, to buying sticker paper, to printing without ruining your sticker paper.
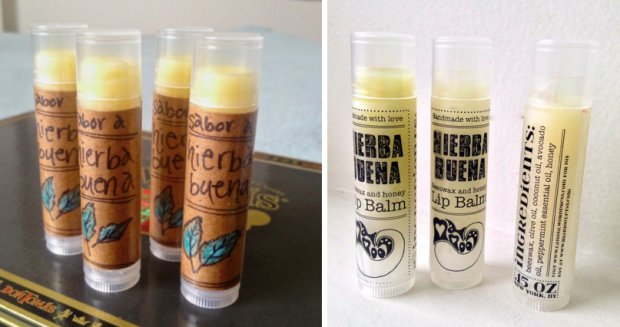
From this… to this
Designing Labels
First things first: you’ve got to design the labels. When you’re working with digital images, you need the rights tools for the right job.
Bitmap v. Vector Images
When you’re designing an image, you want to be able to resize it or print it without losing any quality. The best way to do this is to use vector instead of bitmap graphics. If you’ve ever used a program like Microsoft paint or retouched a photograph, you’re familiar with bitmap images. Bitmaps (sometimes called raster graphics) are created by mapping colors onto a grid. This can be used to create really lovely, sharp photographs that can be edited dot by dot. The one problem? You can’t resize the image without dealing with some serious pixelation. .JPG, .TIFF, .GIF, .PNG, and .BMP are some of the more common bitmap file formats.
Vector images work differently. Instead of mapping on a dot matrix, they use math to draw points, lines, and curves. Vector images are great for graphic designs (graphic as opposed to plastic, not graphic as opposed to prudish obvs) because they can be shrunk or enlarged infinitely and because each piece exists as a different layer and can be manipulated independently of the others. Vector images are also smaller files than bitmaps because your computer has so many fewer points and colors to remember. The cons? For one, drawing vector images takes a good amount of practice. These images aren’t well supported on the internet, which means that you’ll probably have to convert your images into .GIF or .JPG to post them online. You’ll also never create something as realistic as a photograph in a vector format because drawing this way doesn’t allow you to create shadows or color variants. .PDF, .SVG, .EPS, and .AI are all vector file formats.
Drawing and Editing
If you’re made of money, Adobe Photoshop (for raster images) and Illustrator (for vector graphics) will be your tools of the trade. If you’re not, there are all kinds of free and cheap options out there. I use seashore for bitmaps and inkscape for vector images; both are free and easy to learn, especially because there are all kinds of tip sites out there. Let’s design a label together so that you understand how it all works.
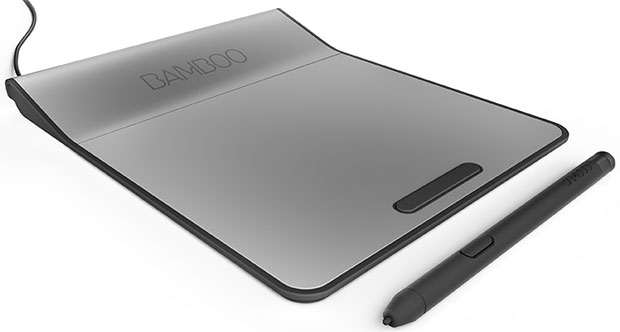
1. Raster editors are great for hand-drawn images, so we’ll start in Seashore. I bought myself a Wacom Bamboo pad eight years ago (get them while they’re hot! I paid $80 for mine but they’re now down to $40) that works just as well today as it did when I got it. I use it whenever I want to draw freehand because, as cute as Allie Brosh’s drawings are, they’re not necessarily what I’m going for.
 2. First just a few important things: A) “Command+” and “Command-” zoom in and out, respectively. This will save you all kinds of time. B) Like most raster editors, seashore works in layers. You can make the layer thumbnails visible by clicking “View > Show Layers.” In the thumbnail drawer, there’s a little +, -, and ++ at the bottom. The + adds a new layer, the – deletes the highlighted layer, and the ++ duplicates the highlighted layer. You can also arrange which layer is on top by dragging the layer thumbnails up and down. When I’m drawing something, I make a new layer for almost every new element. This makes it easy to move or erase anything I don’t like without messing up what I’ve already got.
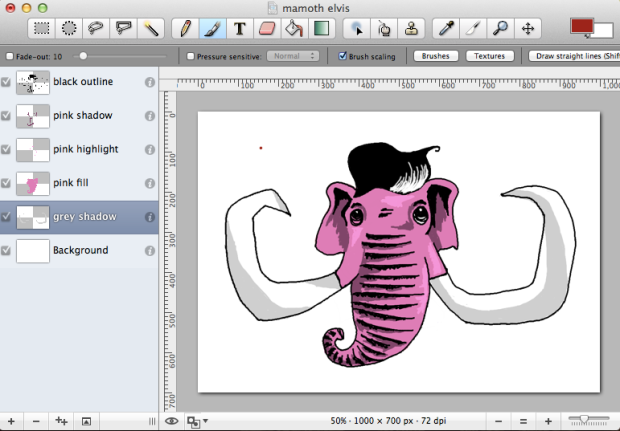
3. Let’s get started, we’re going to draw a mammoth with elvis hair because I like woolly mammoths. This particular mammoth has five different colors: black, grey, pink, dark pink, and light pink. While we’re drawing, we’ll need to create a new layer for each different color because the ultimate goal is to be able to export five different images: one for each color. When we draw, we need to make sure that black and pink are never in the same layer, for example. However, two different dark pink sections can occupy different layers. Sound confusing? Stick with me ’til the end and I promise it’ll all make sense. For now, let’s just draw. Don’t wanna draw? Download my elvis mammoth and play along with the rest of the steps.
4. It’s time to save! One downside to Seashore (at least on my computer) is that is crashes fairly frequently. You should save your image as a “GIMP” (a file format that saves each layer individually) right from the get-go so that you can just click “Command+S” every few minutes while you draw and rest assured that you’re not going to lose anything if the program quits unexpectedly. I created a folder on my desktop named “mammoth elvis” so that my whole picture is easy to find. Save the GIMP in there.
5. When you’re all finished with your picture, you’re going to add “helper dots” These will help you lined up the layers later when you take them all apart. Make a little dot in the same place on each layer.
After this step, it gets pretty complex, so I made a video to help you out in case words just aren’t enough.
6. Okay, now that you’re really finished with your picture, save five different versions of it. In version 1, you’ll turn on all the layers that have black in them and turn off all the other layers. Save this as a JPG and name it something like mammoth elvis – black. In version 2, you’ll do the same thing, but for grey, and so on.
7. Time to move to Inkscape. Before we get too deep in, let’s cover some basics. Inkscape wasn’t built for Macs. This means that you have to run it through XQuartz which, although not as complicated as it sounds, means that you can’t use standard Mac keyboard shortcuts. I’m constantly “Command+X”-ing things only to get frustrated that it switches tools instead of cutting. This little annoyance just means that you have to train yourself to click “Control,” and really isn’t so bad when you realize all the cool stuff you can do with Inkscape. The one exception to the “CTRL” rule is that zooming in and out is the same on Inkscape as it is in Seashore. “Command+” and “Command-” zoom in and out, respectively.
8. Okay, I think we’re ready to move on. Go to “File > Open…” and open “mammoth elvis – black,” the black portion of the bitmap image we drew. Go ahead and import the other four layers using “File>Import.” Move them into a position where you can see each layer.
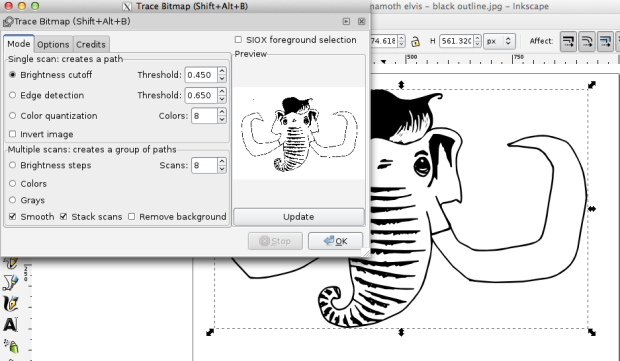
9. With the black bitmap highlighted, click “Path > Trace Bitmap.” Go ahead and test the threshold by clicking “OK.” A big black blob should appear over your black image. If the black blob is too small, the computer didn’t capture enough of the bitmap. To fix this, raise the threshold and click “OK” again. If the black blob is too big, the computer read too much of the bitmap and you should lower the threshold. Do this with each layer.
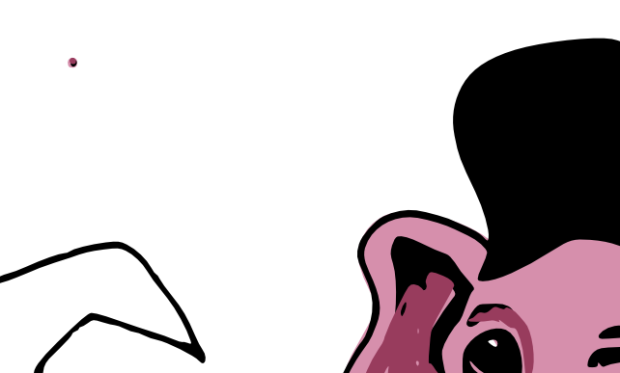
10. To make each layer the right color, move each black vector blob slightly away from its bitmap image. Start by highlighting the tusk blob, finding the right grey in the row along the bottom, and clicking. Grey’s easy, but the pink is a little trickier. You can go ahead and use the colors they’ve selected or double clock the two colors in the bottom left corner to open up a color drawer and fine tune using the “Wheel” tab in the color drawer. Repeat this step with each layer.
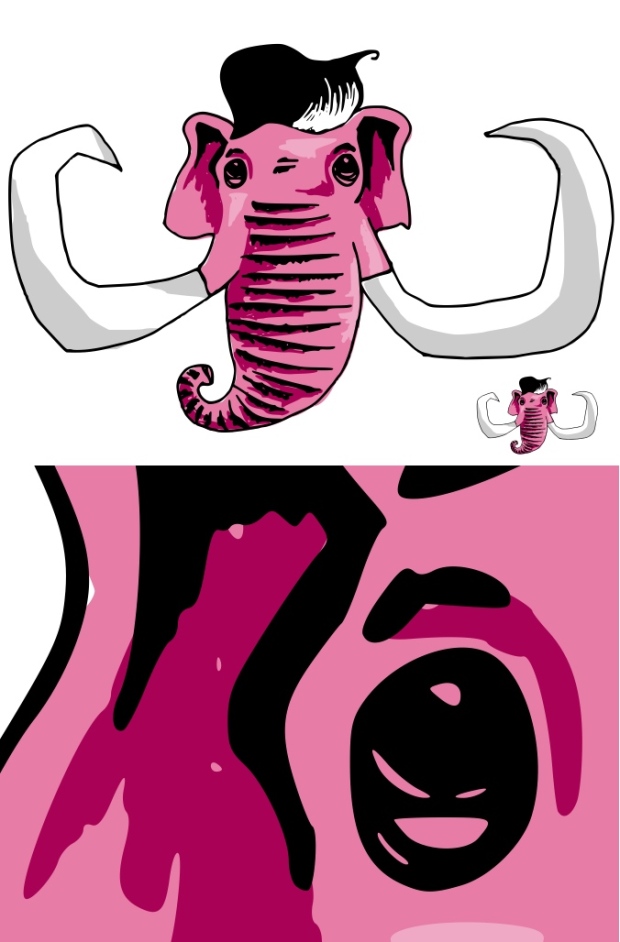
11. Once you’ve got all the layers colored, go ahead and matched them up using the helper dots you added in seashore. You can change the order of layers by highlighting a layer and going to “Object > Raise/Lower (to Top/Bottom).” Once you’ve got the image pieced together, highlight all five layers by dragging a rectangle around them and then clicking “Object > Group.” This lets you move and resize them all together.
12. Delete the helper dots by using the “Edit points” function, highlighting them, and deleting each layer of dot. Ta da, you’ve got a vector graphic that can be resized however big or small you want! Save it as both a .SVG (so that you can edit it later) and a .PDF (so that you can look at it and import it into programs like Word or Seashore that won’t read .SVG.)
You end up with a PDF that can be made as big or as small as you want
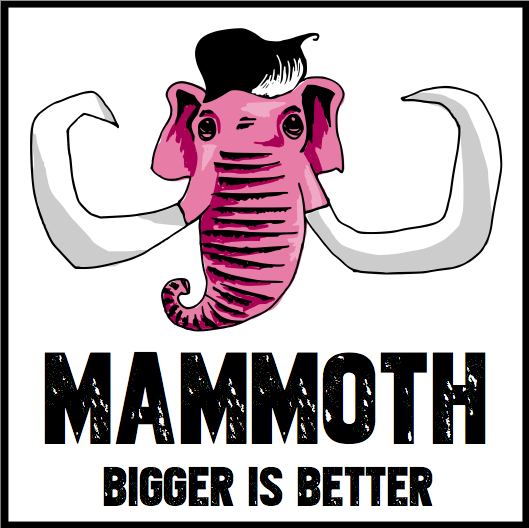
13. Now for the fun part. We can turn an image into a label by adding text, boxes, and other images. I added a border and some words using a font I downloaded from 1001 Free Fonts. When I find a find I like, I download it, unzip it, then install it by going to Finder > Go > Enclosing Folder > Library > Fonts and dragging the unzipped folder into the Fonts folder.
Making Labels
I buy all my stickers from Online Labels. They’ve got fantastic prices, their site is easy to navigate, and they have labels for anything you could ever want.
Once you buy a label from them, a link to templates hangs out in “recently ordered” so that you don’t have to bust out your ruler to remember is you got 1.67″ circles or 1.5″ circles. Download the blank template in PDF, and we’re ready to turn out single sticker into a whole sheet. Lets use these 2″x2″ square labels.
Start by opening the template in inkscape and saving it as a pdf. Open your printer and label a plain sheet of paper (not your fancy sticker paper). I write “UP” so I know which side of the paper goes up in the tray and “BL” and “BR” so I know where side of the paper faces the bottom left and right. Print out the plain template (making sure you don’t “resize to fit”) and then test it for accuracy by placing the printed paper behind the sticker paper and holding both up to a light. If the lines match up, you can move on to the next step. If not, try moving around the template in inkscape and print again until you’ve got everything worked out. Once you have a good inkscape template, save it! You don’t want to have to do this every time.
When you’ve got a good template, import your image and duplicate it enough times to fill the page. 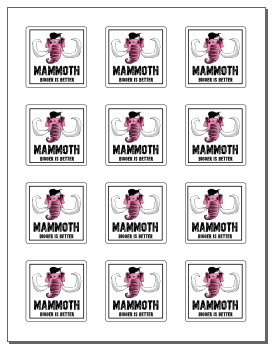
When you’re ready to print, do a light test one more time. Once you’re sure they’re lined up, mark the sticker paper exactly the same as the plain paper (“UP,” “BL,” “BR”) and place it in the printer. Export your inkscape image to pdf and print, again making sure that you haven’t resized the image to fit in print properties.

This is great! Good job in customizing your own label. I can only imagine how creative and talented you are. Making your own label is certainly a fun thing to do. Just to think that you design it yourself. I will surely note the tutorial, this is worth to share.
LikeLike